Blender Studio’s short films were made with Blender, a 3D program anyone can download for free. The studio gives the films away too: they’re released under Creative Commons licenses, which is why you can watch them free on IFN. This guide shows you how to watch them like a filmmaker, try their techniques yourself in Blender, and work up to finishing a short film of your own.
Who is Blender Studio?
Blender is free and open-source software for 3D modeling, animation, visual effects, 2D animation, and video editing. It is developed with the support of the Blender Foundation, and Blender Studio is the foundation’s own film studio. The studio makes what it calls open movies: short films made in Blender and released for anyone to watch and share.
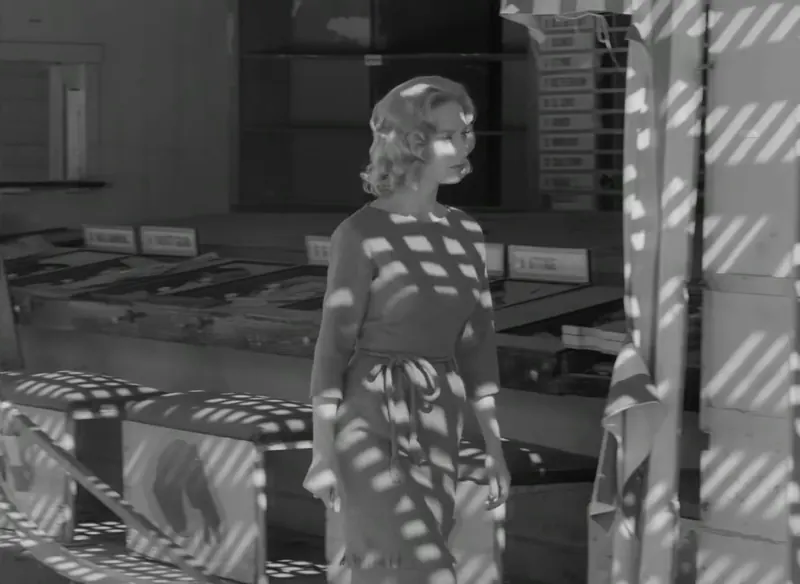
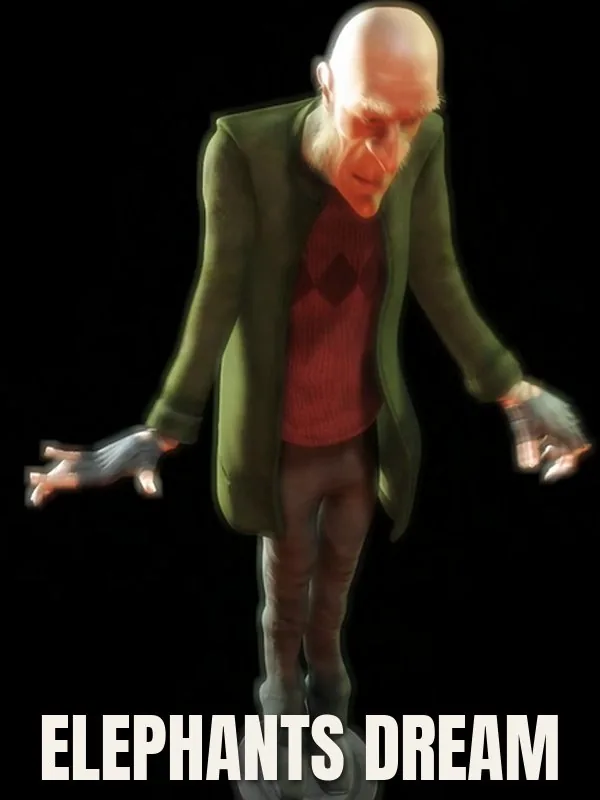
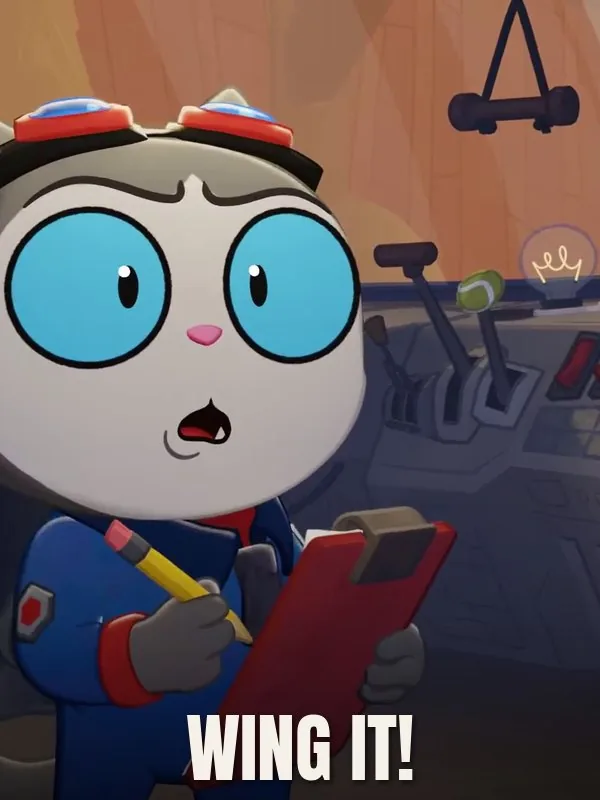
The Blender Foundation’s first open movie, Elephants Dream, came out in 2006, and the studio has kept making them since, often using a new film to push Blender into areas it hadn’t handled before. Wing It! (2023), for example, was made to push Blender’s mix of 2D and 3D animation and its stylized, non-photorealistic rendering.
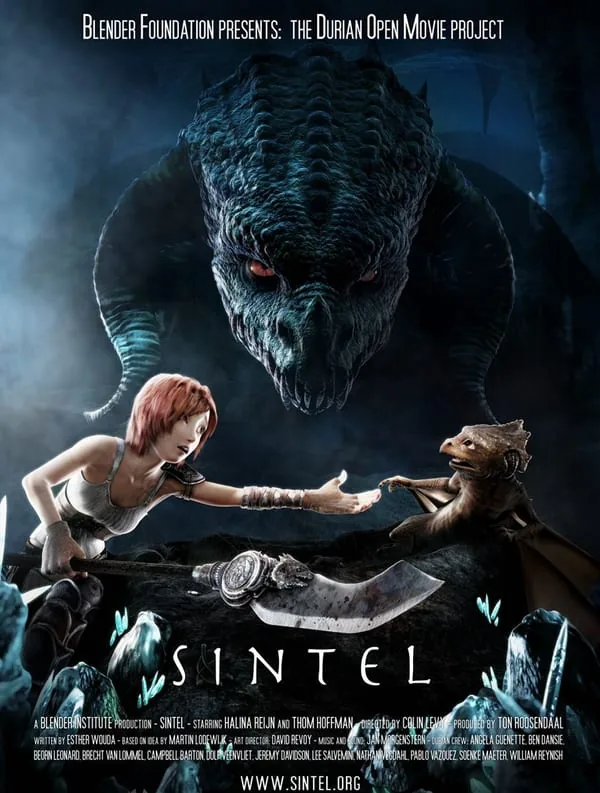
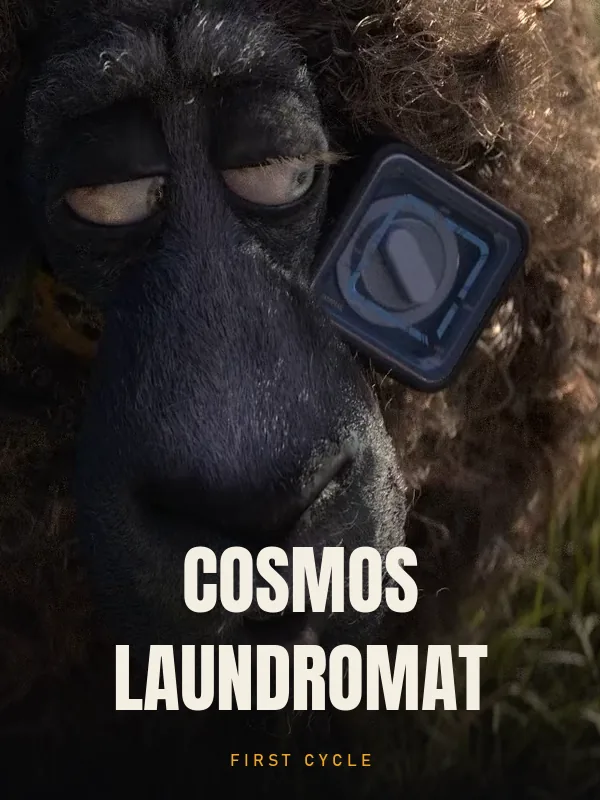
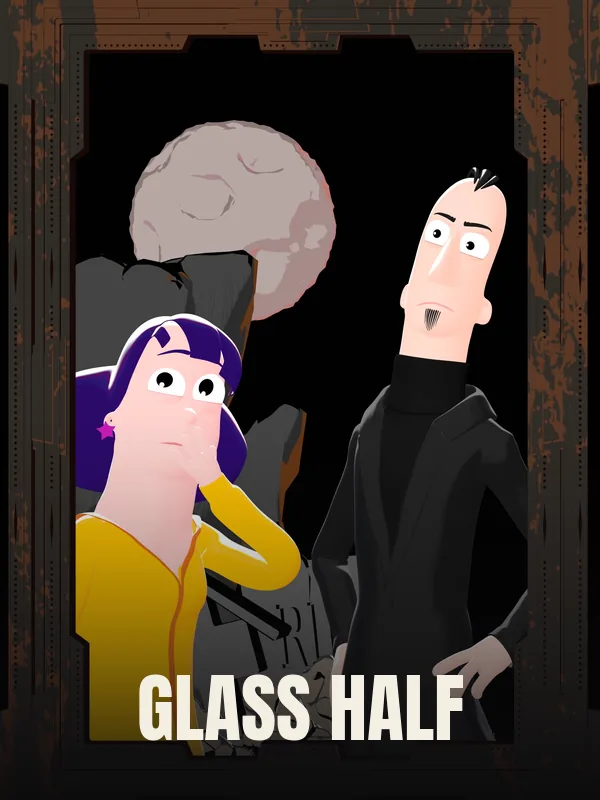
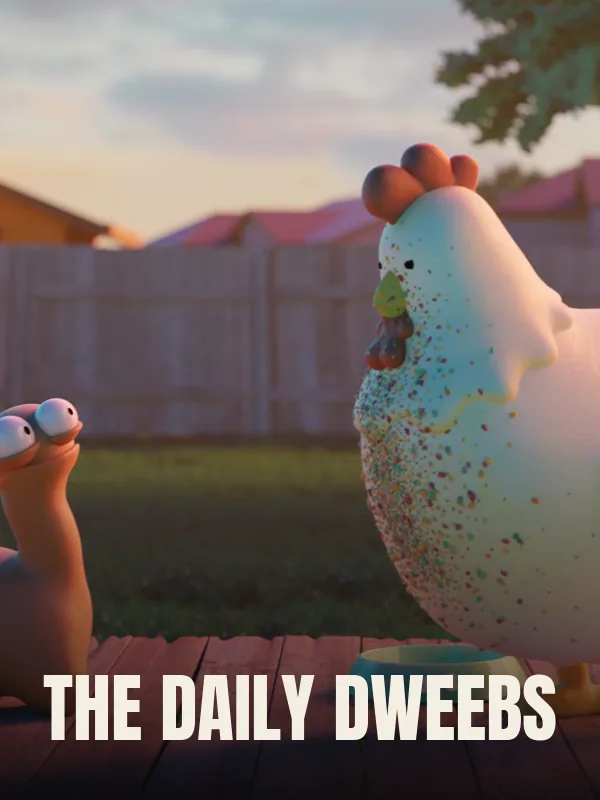
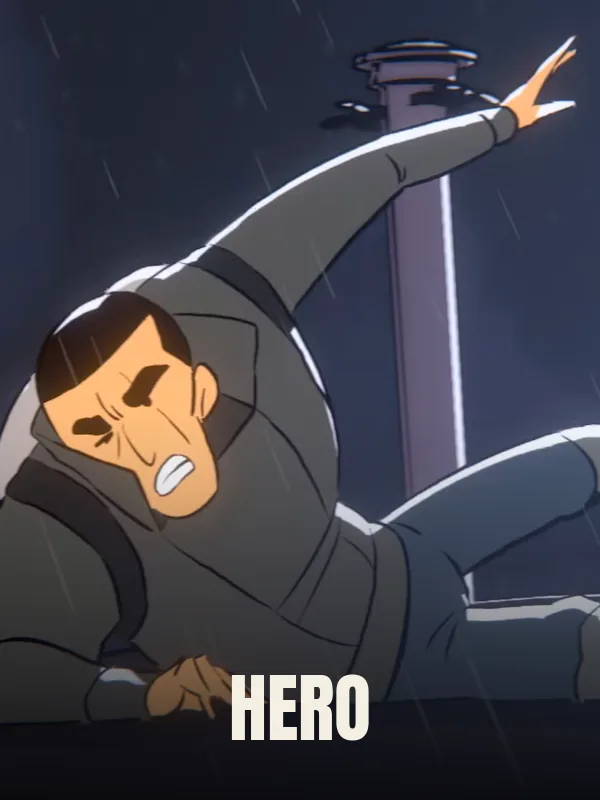
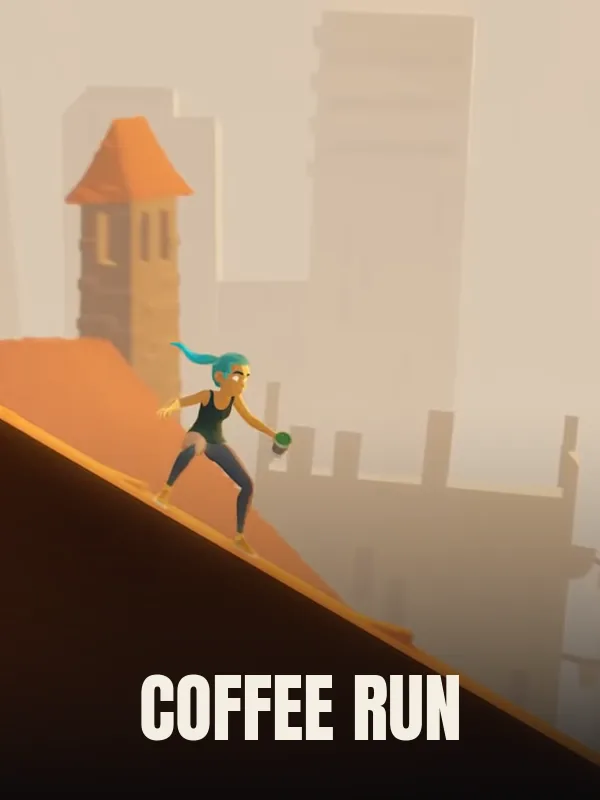
Blender Studio’s open movies on IFN
They’re all short, so you can watch a few in one sitting. Pick two or three before you read on; the techniques below point back to them.

Watch like a filmmaker: techniques to steal
Watch a film once for the story. Then watch it again and pay attention to the choices behind each shot instead: where the camera is, how the characters move, where the light comes from. Every technique below is something you can spot in these films and then try yourself in Blender in a few minutes. (If you haven’t installed Blender yet, the getting started steps are further down.)
1. Timing: the bouncing ball
Watch for: in cartoon comedies like Big Buck Bunny and Wing It!, watch how fast the characters move and how that speed changes: when they hold still, when they burst into motion, how long they take to stop. A big, heavy character usually needs more time to get going than a small one, and a quick move feels quicker after a pause. Animators call this timing and spacing, and it’s much of what makes movement feel alive.
Try it in Blender: the bouncing ball, the exercise animators have long started with.
- Delete the starting cube (X), then add a ball: Shift+A › Mesh › UV Sphere.
- On frame 1, move the ball up high (G then Z) and press I to set a keyframe. On frame 12, move it down to the ground and press I. On frame 24, move it back up and press I. Press the space bar to play it.
- It floats, because Blender eases in and out of every keyframe by default, so the ball slows down as it reaches the ground. Open the Graph Editor (switch the timeline at the bottom to it with the editor menu in its top-left corner), select the key at the bottom of the bounce, press V, and choose Vector. Now the ball speeds up as it falls and snaps off the floor, which is what makes a bounce look like a bounce.
- Want more? On the frame where it hits the ground, squash it a little (S then Z) and set a keyframe, so it looks soft and springy.
2. Poses that read in silhouette
Watch for: Big Buck Bunny tells its whole story without dialogue, so every feeling has to come through the characters’ poses and movement. A good test animators use: if you filled the character in solid black, could you still tell what it’s doing and feeling?
Try it in Blender: pose a character, or even a few simple shapes standing in for one. In the viewport’s Solid shading options, set Lighting to Flat and Color to Single, then choose black. Everything turns into a flat silhouette. If the pose still reads, it works. If it turns into a blob, turn the character to the side, spread the arms away from the body, or exaggerate the lean.
3. Framing: where the camera is, and which lens
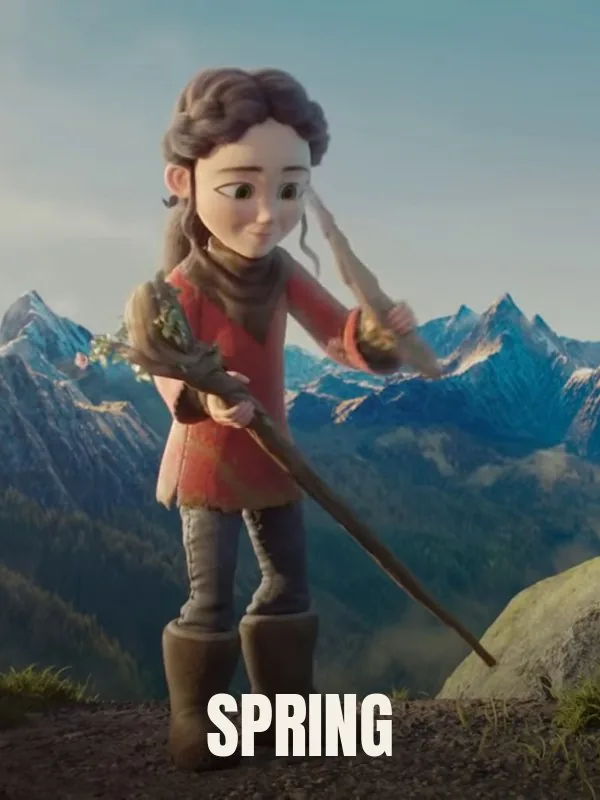
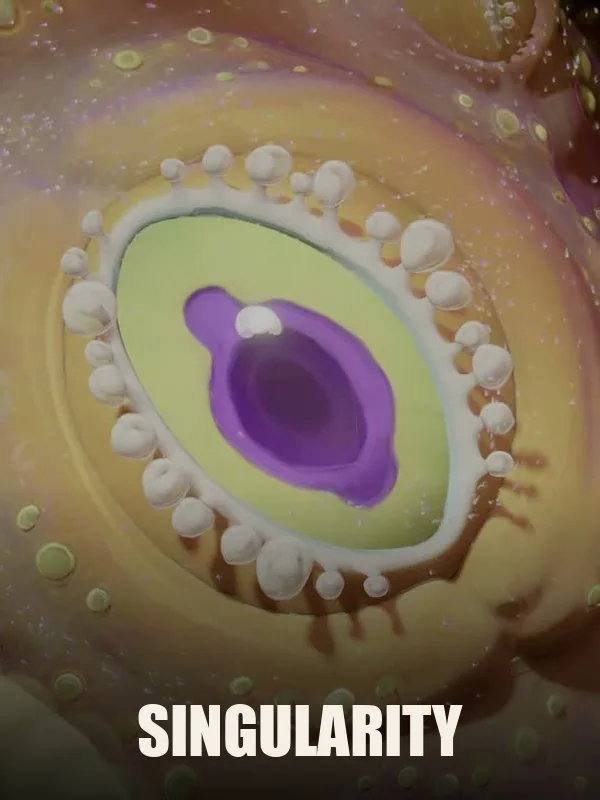
Watch for: in Spring and Singularity, notice how some shots are wide and show a small character in a huge world, and others move in close to show a face. Notice which parts of the frame are sharp and which are soft. Every shot is a decision about what the audience looks at.
Try it in Blender:
- Line up your shot, then press Ctrl+Alt+0 on the number pad to move the camera to your current view.
- In the camera’s settings, under Viewport Display, turn on the Thirds composition guide. Place your subject on one of the lines instead of dead center and see how the shot changes.
- Change the Focal Length. Around 24 mm gives a wide, dramatic view; around 85 mm flattens the scene and suits close-ups.
- Turn on Depth of Field, pick a Focus Object, and lower the F-Stop number to blur the background, as a real lens does.
4. Light sets the mood
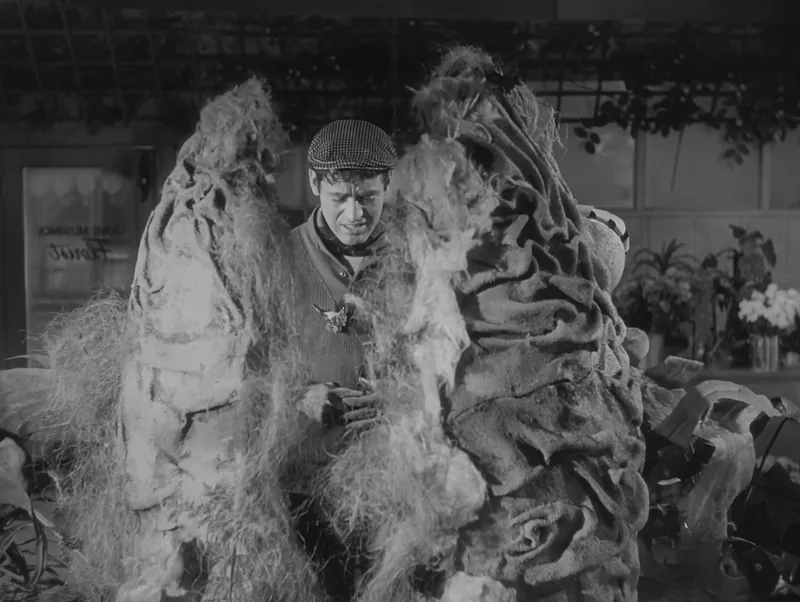
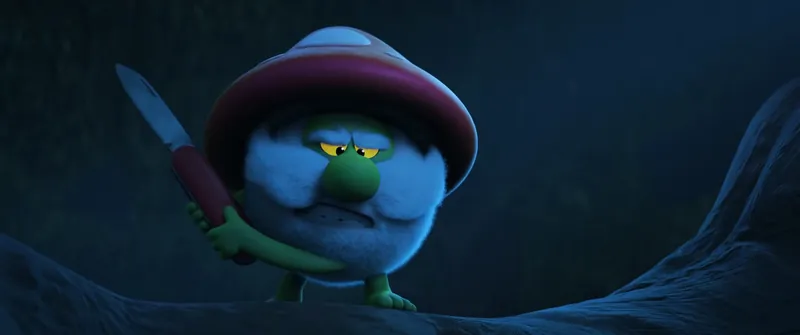
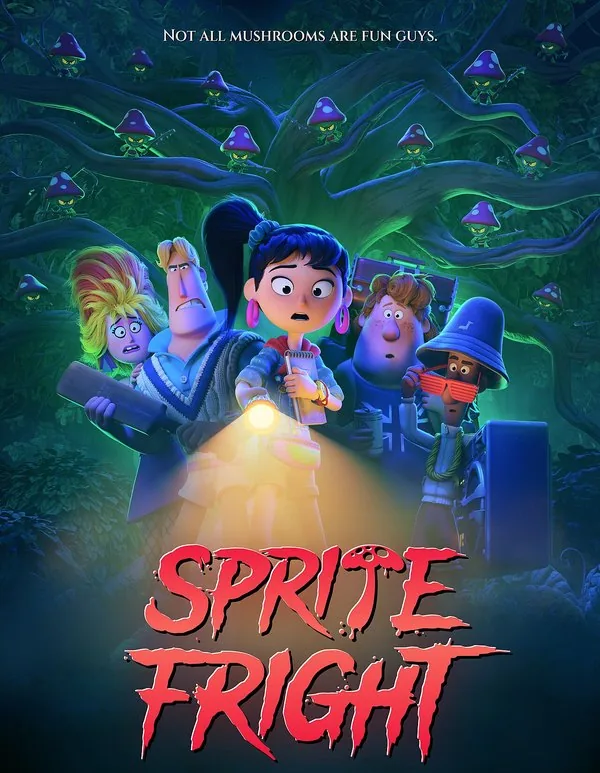
Watch for: Sprite Fright is a horror comedy, a genre that depends on the line between cozy and creepy. Watch where the light comes from in each scene, how bright it is, and what color it is. The same forest can feel friendly or frightening depending on the light.
Try it in Blender: delete the starting light and add one Area light (Shift+A › Light › Area). Render the same object three times (F12): lit from the front, from the side, and from below. Then try a warm orange light against a dark blue background (the World color). Lighting from below is an old horror trick, and you’ll see why right away.
5. Putting 3D into real footage
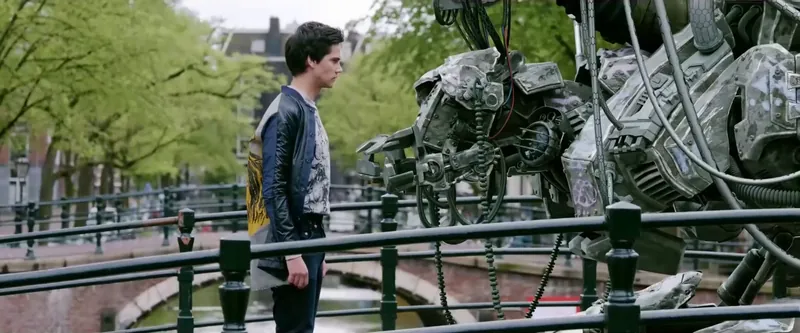
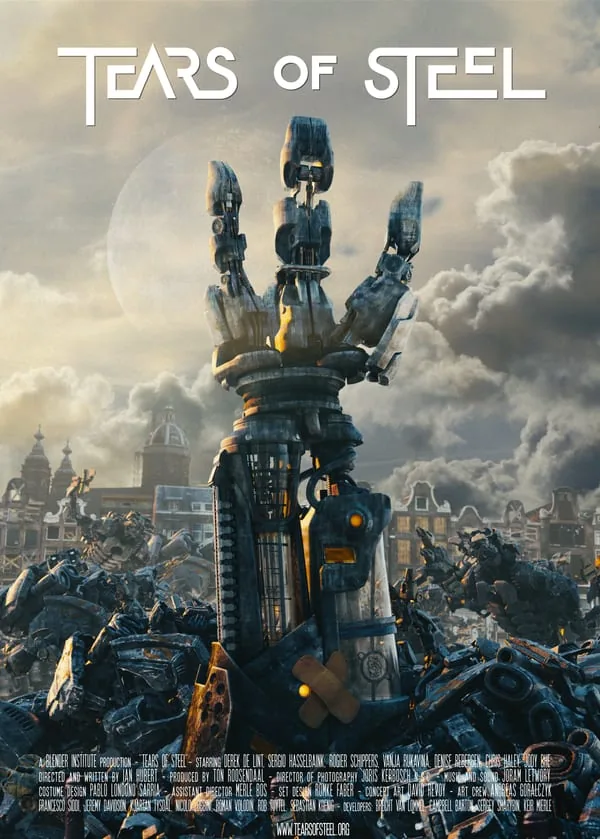
Watch for: Tears of Steel was shot with real actors, and Blender added the robots, the ruined city, and the effects. The trick that makes it work is matching the 3D camera to the real one, so the added objects stay locked in place as the camera moves.
Try it in Blender: film ten seconds on your phone, moving slowly past something with lots of detail. Blender’s Motion Tracking workspace can follow points in the footage and work out how your camera moved. The Motion Tracking chapter of the manual walks through it. Then add a 3D object and watch it sit in your shot. This is a step up from the others, and a great one to work toward.
6. A look of your own
Watch for: Wing It! mixes 2D and 3D animation and looks like a cartoon, not a photograph. You don’t have to chase realism, and a strong, simple style is often quicker to finish and easier to remember.
Try it in Blender: Grease Pencil, Blender’s drawing tool, lets you draw in 3D space. Add a Grease Pencil object (Shift+A › Grease Pencil › Blank), switch to Draw mode, and sketch around a 3D object. Then orbit the view: your drawing sits in the scene with everything else.
Get started: download Blender
Blender is free for any purpose, including paid and commercial work, and the Blender Foundation’s license page says it plainly: “What you create with Blender is your sole property.”
- Go to blender.org/download, Blender’s official site. Blender is also listed on the Microsoft Store, Steam, and the Snap Store. Download it only from blender.org or those official listings.
- Pick your system. At the time of writing, the latest release is Blender 5.2.3 LTS (October 22, 2026). LTS means long-term support: that version keeps getting fixes for longer, which makes it a good choice for learning.
- Windows: Windows 8.1 or newer, 64-bit. Download the installer and run it.
- Mac: an Apple Silicon Mac (M1 or newer) with macOS 13 Ventura or newer. Open the download and drag Blender into Applications. The download page doesn’t list a build for older Intel Macs.
- Linux: most recent 64-bit distributions (glibc 2.28 or newer).
- Check your computer. Blender’s requirements page lists a minimum of a 4-core processor, 8 GB of memory, and a graphics card with 2 GB of video memory, and recommends 8 cores, 32 GB of memory, 8 GB of video memory, and a 1920×1080 screen. The minimum is enough to learn on; bigger scenes and faster renders need more.
Your first hour
When Blender opens, it shows a simple scene: a cube, a camera, and a light. Use them to learn the basics.
- Look around. Hold the middle mouse button (the scroll wheel) and drag to orbit around the scene. Scroll to zoom. Hold Shift with the middle button to pan.
- Move things. Click the cube to select it. Press G to move it, R to rotate it, and S to scale it, then click to confirm (right-click cancels). Press X, Y, or Z after any of them to stick to one direction.
- Animate it. On frame 1 of the timeline at the bottom, press I to set a keyframe. Drag the timeline to a later frame, move the cube, and press I again. Press the space bar to play it back.
- See it through the camera. Press 0 on the number pad to look through the scene’s camera, which is what your film will show.
- Render it. Press F12 to render a single frame. To render the whole animation, choose a video file format in the Output properties and use Render › Render Animation.
Blender has two main render engines. EEVEE is fast and shows results almost right away, so it’s a good place to start. Cycles is slower but simulates light more realistically. You can switch between them at any time.
Your first model: a mushroom in ten minutes
Here’s a first modeling project, in honor of Sprite Fright’s forest.
- The cap. Delete the cube (X) and add a UV Sphere (Shift+A › Mesh › UV Sphere). Flatten it: S, then Z, then type 0.5 and press Enter.
- The stem. Add a Cylinder (Shift+A › Mesh › Cylinder). Make it thinner with S, taller with S then Z, and move it down under the cap with G then Z.
- Make it smooth. Select each piece and press Ctrl+1 to add a Subdivision Surface modifier, then right-click and choose Shade Smooth.
- Give it shape. Select the cap, press Tab to edit its points, and press O to turn on proportional editing. Click a point at the edge of the cap, press G, and move the mouse: the points around it follow softly (scroll to change how far the effect reaches). Droop the edges, push the top up, make it lopsided. Press Tab again when you’re done.
- Add color. In the Material tab, click New and change the Base Color. Red cap, cream stem.
- Give it a face. Two small spheres for eyes, and it’s a character. Point the camera at it, add a light, and press F12.
That’s modeling, materials, lighting, and rendering in one go, the same steps behind every model in these films, done at a much smaller scale.
Keep learning, free
- The Blender Manual. The official reference, free online, from installing Blender to animation, rendering, and video editing.
- Blender’s official YouTube channel. Videos from the Blender team itself.
- Demo files. Finished scenes from Blender artists that you can open and take apart to see how they work.
- Blender Studio training. Courses from the team behind the open movies. Some lessons are free; the full library and the films’ production files come with a paid subscription.
- The community. Blender Artists is a long-running forum where beginners ask questions, and blender.org points to the #b3d hashtag on social media for new tutorials.
- The films themselves. The open movies use Creative Commons Attribution licenses, so you may share and even remix them, as long as you credit them as each license asks. A classic exercise: pick one shot you love and rebuild it with simple shapes. Each film’s page on IFN shows its exact license and credit line.
Make your first film
The best first film is one you finish. These steps keep it small enough to get done:
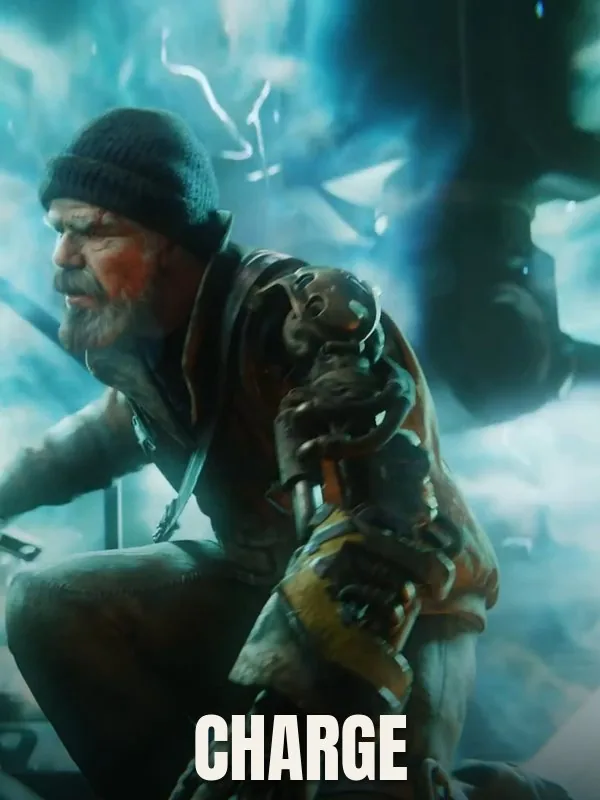
- Write it in one sentence. A character wants something, and something gets in the way. Charge is four minutes long and built on exactly that: one character, one thing he needs, one obstacle. If your idea needs more than one sentence, it’s too big for a first film.
- Keep it short. Aim for 30 to 60 seconds, one location, and one or two characters. Your mushroom could be the star.
- Sketch it first. Draw a rough storyboard, on paper or with Grease Pencil. Each drawing is one shot: decide the framing, the lens, and the light before you build anything.
- Block, then polish. Rough out every shot with simple shapes and basic timing before you add detail. Make sure the whole film works before you make any one shot beautiful.
- Edit and add sound. Blender has a video editor built in, so you can cut your shots together and add music and sound effects without other software. Use sounds you made yourself, or ones whose license lets you use them, and credit them.
- Finish it and share it. Put your name in the credits and show it to people.
When your film is done
That’s when IFN comes in. You can submit your film to IFN for free, with no account needed, and every film sent in is reviewed. The festival directory lists film festivals open to independent filmmakers, with their deadlines, and the Creator hub explains how IFN works with filmmakers. For more films made with new tools, from open movies to game engines, browse New & Next.
Blender Studio’s directors started somewhere too. Start with the cube.
Sources: Blender download page and requirements, Blender license, Blender Manual, Blender Studio, checked November 6, 2026. Film details are from each film’s page on IFN and its Blender Studio project page.