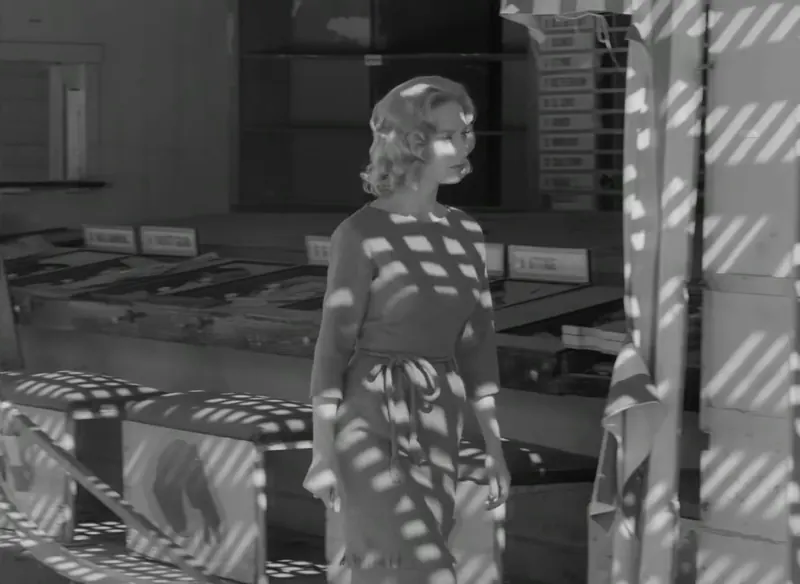
Three-point lighting is the starting point for lighting a person on camera. It uses three sources, each with one job: a key light to light the face, a fill light to control the shadows, and a backlight to separate the person from the background. Once you understand why each light is there, you can bend the setup into almost any look, from a bright comedy to a shadowy thriller, with gear that costs very little.
The three lights and their jobs
- Key light: the main and brightest source. It sets the direction of the light and the exposure. It usually sits about 30 to 45 degrees to one side of the camera, a little above eye level, angled down at the face.
- Fill light: a softer, dimmer light on the other side of the camera. It lifts the shadows the key creates, without erasing them. How bright it is compared with the key decides the mood.
- Backlight (also called a rim or hair light): behind the subject, high, usually on the side opposite the key, aimed at the back of the head and shoulders. It draws a thin edge of light that separates the subject from a dark background, so the image has depth.
Many setups add a fourth: a background light that lights the wall or set behind the subject, so it doesn’t fall into flat black.
Setting it up, step by step
- Place the subject away from the wall. A few feet of distance stops shadows landing on the wall and lets you light the background separately.
- Turn off the room lights (or as many as you can), so you know exactly what each light is doing.
- Add the key. Put it 30 to 45 degrees off the camera’s axis, slightly above the eyes. Look for a small catchlight in the eyes; it makes a face look alive.
- Add the fill. On the opposite side, lower in brightness. Start dim and bring it up until the shadow side shows the detail you want.
- Add the backlight. High and behind, opposite the key. Make sure it doesn’t shine into the lens; you’ll see a hazy flare if it does.
- Check the exposure on the camera, not by eye. Use the camera’s zebras or false color if it has them, and keep the brightest skin from clipping to pure white.
Lighting ratios: the dial for mood
The lighting ratio compares the brightness of the key side of the face with the fill side. Light is measured in stops, and each stop doubles or halves the light, so the ratios climb quickly:
| Ratio | Difference | Look |
|---|---|---|
| 2:1 | 1 stop | Bright and even: comedy, commercials, interviews |
| 4:1 | 2 stops | Natural drama, with clear shape on the face |
| 8:1 and beyond | 3 stops or more | Moody and dramatic: thrillers, horror, film noir |
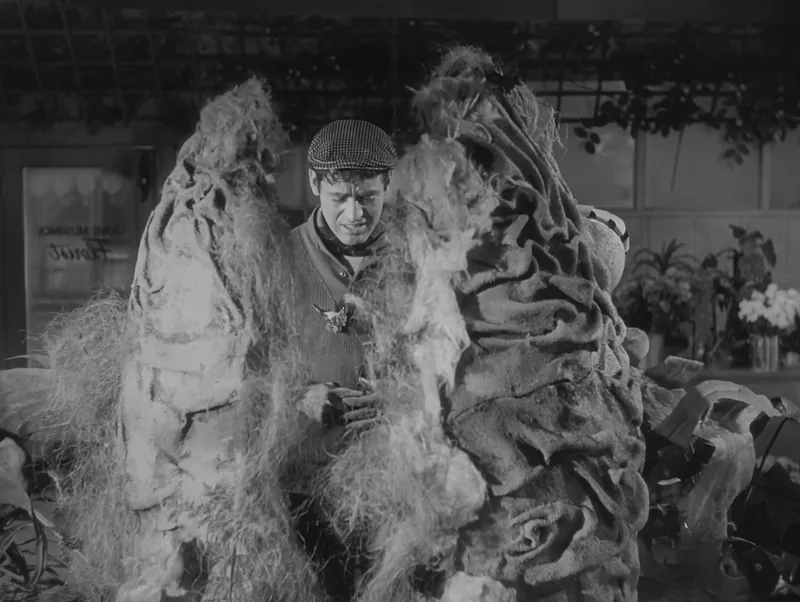
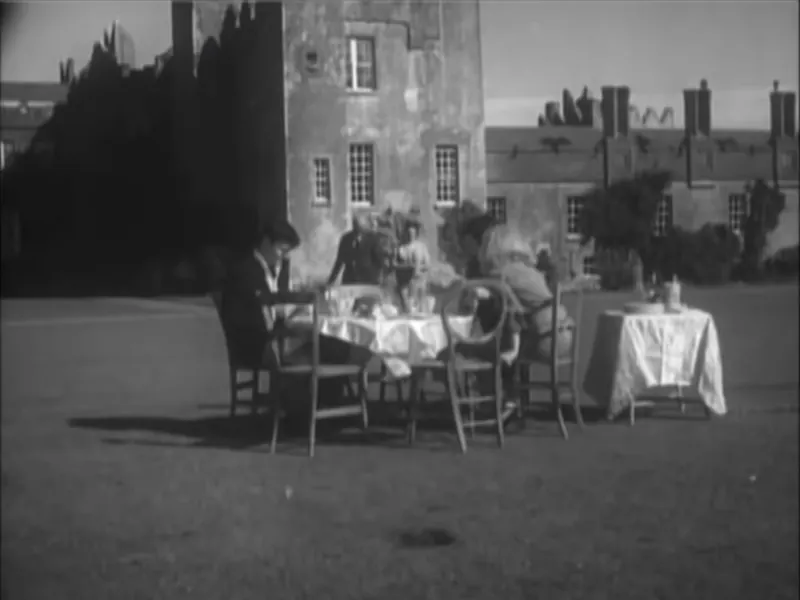
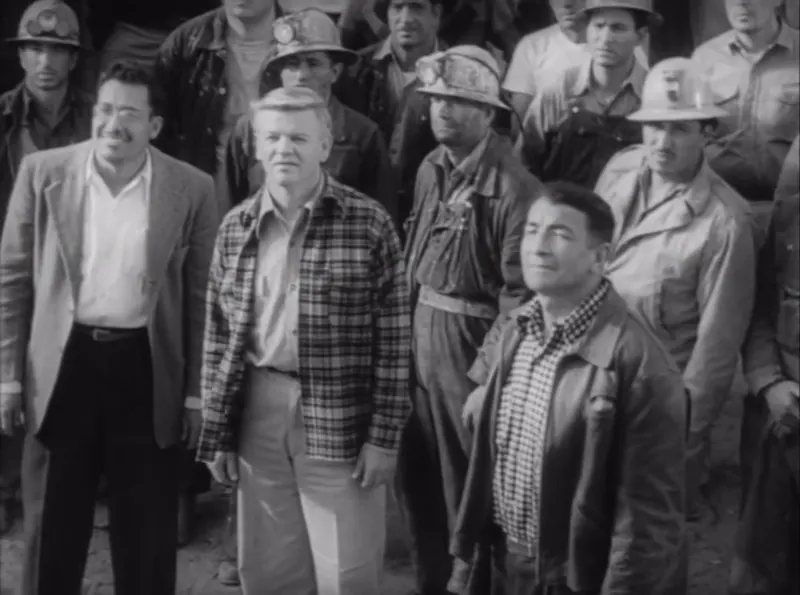
Low ratios produce a high-key look: bright, few shadows. High ratios produce a low-key look: deep shadows, much of the frame dark. Classic film noir and a lot of horror are low-key; you can see it in black-and-white films like The Hitch-Hiker and Carnival of Souls, where shadow does as much storytelling as light.
Hard light vs. soft light
Whether light is hard or soft depends on the size of the source compared with the subject, not on how bright it is.
- Hard light comes from a small source (a bare bulb, the sun on a clear day, a small LED). It makes crisp, dark-edged shadows and shows skin texture.
- Soft light comes from a large source (an overcast sky, a big window, a softbox, light bounced off a wall). Shadows fade gently, and faces look smoother.
To soften a light, make it bigger: shine it through diffusion fabric, or bounce it off a white surface. Moving a soft source closer to the subject also makes it softer, because it becomes larger relative to the face.
Distance changes brightness quickly. Light follows the inverse-square law: double the distance between a light and the subject, and the subject gets about a quarter of the light. That is why a light close to an actor makes the background fall off into darkness, and a light far away lights both more evenly.
Color temperature and white balance
Light has a color, measured in kelvin (K). Tungsten bulbs are warm, around 3200 K; daylight is cool and bluish, around 5600 K. Set your camera’s white balance to match your main light, and avoid mixing sources by accident: a daylight window beside a warm lamp turns one side of a face orange or blue. Mixing on purpose (cool moonlight from a window, a warm practical lamp inside) is a classic look.
When you buy lights, look at the CRI or TLCI rating, which says how faithfully a light shows colors. Ratings in the mid-90s or higher keep skin tones natural; cheap lights with low ratings can make skin look green or gray.
Classic variations
- Rembrandt lighting: the key high and to the side, so a small triangle of light appears on the shadow-side cheek. Named after the painter’s portraits.
- Loop lighting: the key a little closer to the camera, so the nose casts a small loop-shaped shadow. Flattering and common.
- Butterfly (or Paramount) lighting: the key in front and above, making a small shadow under the nose. A glamour look from classic Hollywood portraits.
- Split lighting: the key at 90 degrees, lighting exactly half the face. Stark and dramatic.
- Short lighting: the key on the side of the face turned away from the camera. It adds shape and drama; broad lighting, keyed on the side toward camera, is flatter and brighter.
Motivated lighting: making it feel real
Audiences accept light that seems to come from somewhere: a window, a lamp, a screen, a fire. This is motivated lighting. Put your key where a real source in the scene would be, and let the practicals (lamps and other lights that appear in the shot) explain it. A daylight window can be the key, a white wall the fill, and a lamp behind the actor the backlight: three-point lighting, disguised.
A budget kit that works
- Two or three LED panels or clamp lights with high-CRI daylight bulbs. LEDs run cool, so they’re safer near fabric than old tungsten bulbs; still keep any diffusion material clear of hot parts.
- A white foam board or a white sheet as a bounce: your free fill light.
- Black fabric or black foam board as “negative fill,” to deepen shadows when a white room bounces too much light.
- Diffusion: a shower curtain or purpose-made diffusion fabric in front of a light.
- A window. Often the best key light you own. Put the subject at an angle to it and bounce the other side.
Our guide to camera and sound gear for indie filmmakers covers what to buy first and starter kits by budget.
Try it: sit a friend near a window in a dark room. Shoot ten seconds with only the window (the key). Then add a white board on the other side (the fill) and shoot again. Then put a small lamp behind them, out of frame (the backlight). Then remove the white board and hang black fabric there instead. Compare the four shots: you’ll have made high-key, natural, and low-key looks from one window.
The same rules in animation
Computer-animated films are lit with virtual lights that follow the same principles. In Blender you can add an area light as a key, a larger, dimmer one as a fill, and a rim light behind the character; the inverse-square falloff is part of how the renderer works. Watch the open movies from Blender Studio, such as Spring and Sintel, with an eye on where the light comes from, then see our guide to starting in Blender.
Ready to show your work? Submit your film to IFN, free.
Sources: Blain Brown, Motion Picture and Video Lighting (Routledge), on three-point lighting, ratios, and hard vs. soft light; the American Cinematographer Manual (ASC Press), on exposure and color temperature; the inverse-square law is standard physics for light from a small source.