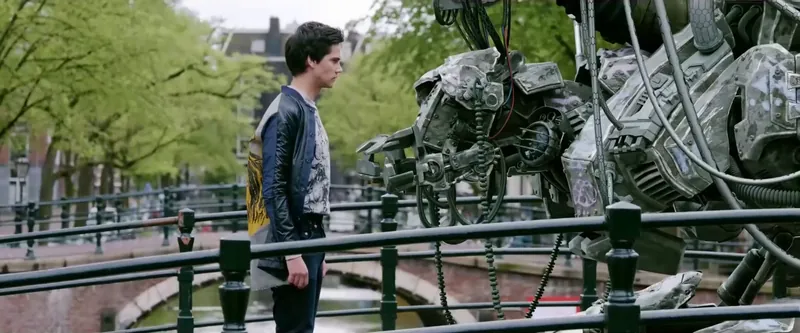
A film is a chain of shots, and each shot answers two questions: how much do we see, and from where? Shot size and camera angle are the first tools a director and cinematographer reach for, long before lighting or color. This guide names the standard shots, explains what each one does to an audience, and shows how to choose them for a scene. Every term here works the same in live action, animation, and AI-generated film.
Shot size and camera angle: two different choices
Shot size is how much of the subject fills the frame, from a whole landscape down to an eye. Camera angle is where the camera sits relative to the subject: above, below, level, or tilted. You choose both for every shot. A close-up from a low angle and a close-up from a high angle tell the audience very different things about the same face.
Shot sizes, from widest to tightest
Sizes are usually described by how much of a standing person you see. The names vary a little from crew to crew, but these are the common ones.
- Extreme wide shot (EWS): a landscape or a city, with people tiny or absent. Often used as an establishing shot, the shot that tells the audience where (and sometimes when) the next scene takes place.
- Wide shot (WS), also called a long shot: the whole location and the people in it. Good for showing geography: who is where, and how far apart.
- Full shot (FS): one person head to toe, filling most of the frame’s height. It shows body language and movement.
- Medium wide shot (MWS), or “cowboy” shot: from about mid-thigh up. The nickname comes from Westerns, where it kept a gunslinger’s holster in frame; French critics called it the plan américain.
- Medium shot (MS): from the waist up. The workhorse of dialogue scenes: close enough for expressions, wide enough for gestures.
- Medium close-up (MCU): from mid-chest up. Intimate but still conversational; a lot of television dialogue is shot this way.
- Close-up (CU): the face, from about the shoulders or chin up. The audience reads every flicker of emotion, so save it for moments that matter.
- Extreme close-up (ECU): one detail, such as eyes, a mouth, or a trigger finger. Pure intensity, or a clue the audience must not miss.
- Insert: a close shot of an object (a letter, a phone screen, a key turning) that gives the audience information.
Shots named by who is in them
- Single, two-shot, three-shot: one, two, or three people in the frame. A two-shot keeps a relationship in view; cutting to singles separates the characters.
- Over-the-shoulder (OTS): past the back of one character’s shoulder and head, onto the other’s face. The standard way to cover a conversation, because it keeps both people connected in every shot.
- Point of view (POV): what a character sees, as if through their eyes. Usually sandwiched between shots of the character looking, so the audience knows whose view it is.
- Reaction shot: a listener’s face. Many editors say a scene lives in its reactions as much as its lines.
- Cutaway: something else in the scene (a clock, a crowd, a dog) that the editor can cut to, which also hides edits in dialogue.
- Master shot: one wider shot that covers the whole scene from start to finish. Shooting a master first gives the editor a safety net.
Camera angles and what they suggest
- Eye level: the camera at the subject’s eye height. Neutral; the audience meets the character as an equal.
- High angle: the camera above, looking down. The subject can seem smaller, weaker, or trapped.
- Low angle: the camera below, looking up. The subject can seem powerful, threatening, or heroic.
- Overhead or bird’s-eye: straight down from above. Shows patterns and layout, and can feel detached or god-like.
- Ground level or worm’s-eye: the camera on the floor. Exaggerates height and makes ordinary things loom.
- Dutch angle (canted angle): the camera tilted so the horizon slants. It signals unease or a world out of balance. The name is usually traced to “Deutsch,” from its use in German Expressionist films of the 1920s.
None of these meanings is a rule. A low angle on a frightened child can make the world around them feel huge, not make the child powerful. Context decides, which is why the same angle can feel heroic in one film and sinister in another.
The lens changes the shot, too
Two close-ups can be the same size and still look different, because of the lens. Focal lengths below are for a full-frame camera; on smaller sensors and phones, the equivalent numbers are shown in the camera app or the spec sheet.
- Wide lenses (about 14 to 35 mm): show more of the space and stretch depth, so things near the lens look bigger and the background looks farther away. Up close, they distort faces, which can be comic or unsettling.
- Normal lenses (about 40 to 55 mm): roughly match how we perceive perspective. Unobtrusive.
- Long lenses (about 85 mm and up): compress depth, so the background seems closer and larger, and they flatter faces. From far away they can feel voyeuristic, as if someone is watching.
Lenses also shape depth of field: a long lens, a wide aperture, and a close subject all blur the background, which pulls attention to the subject.
How to choose shots for a scene
- Find the point of the scene. What must the audience understand, and what should they feel? A breakup scene is about the moment one person decides, so that face needs the closest shot.
- Establish the space. Start with a shot that shows where people are, unless confusion is the point.
- Move closer as the emotion rises. A common pattern runs wide, then medium, then close-ups for the turning point. Cutting back out can release tension or isolate a character.
- Plan your coverage. For a conversation, a typical setup list is a master, an over-the-shoulder on each person, and a close-up on each, plus any inserts. It gives the editor choices.
- Vary sizes when you cut. Cutting between two shots of almost the same size and angle reads as a jump. Many filmmakers follow the “30-degree rule”: move the camera at least 30 degrees, or change the shot size clearly, between consecutive shots of the same subject.
- Keep people on their side of the frame. In a conversation, draw an imaginary line between the two characters and keep the camera on one side of it. That is the 180-degree rule; break it and characters seem to swap places on screen.
A sample shot list for a two-person scene
| Shot | Size and angle | Purpose |
|---|---|---|
| 1 | Wide, eye level (master) | The whole scene: both people at the table, the room around them |
| 2 | Over-the-shoulder on A | A’s lines and reactions, with B in the foreground |
| 3 | Over-the-shoulder on B | The mirror of shot 2, from the same side of the line |
| 4 | Close-up on A | The decision moment |
| 5 | Close-up on B | B’s reaction to it |
| 6 | Insert, high angle | The object the scene turns on: a ring, a letter, a phone |
For how to turn a script into a list like this, see our guide to writing a screenplay and planning your scenes.
Common mistakes
- Everything in medium shot. The scene has no rhythm. Mix sizes on purpose.
- Too much headroom. In close shots, the eyes usually sit about a third of the way down the frame. Empty space above a head looks accidental.
- No lead room. Leave space in the direction a character looks or moves, or the frame feels cramped.
- Close-ups too early. If every shot is tight from the start, the big moment has nowhere to go.
Try it: take any four lines of dialogue and two friends. Shoot it three ways on a phone: (1) one wide shot only, (2) a master plus two over-the-shoulders, (3) a master, two over-the-shoulders, and two close-ups. Edit each version and watch them back to back. You’ll feel how much the shot choice changes the scene, even with the same performances.
Watch for it on IFN
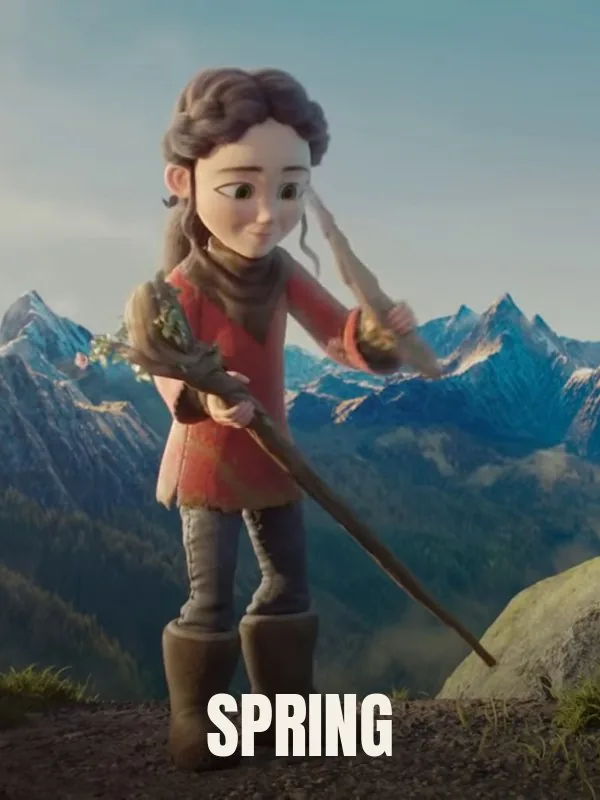
Pick a film, pause on any shot, and name its size and angle. Animated films use the same language: in Blender, the “camera” is a virtual one with a real focal length, so the films from Blender Studio are framed with the same shot grammar as live action. Try it with these:
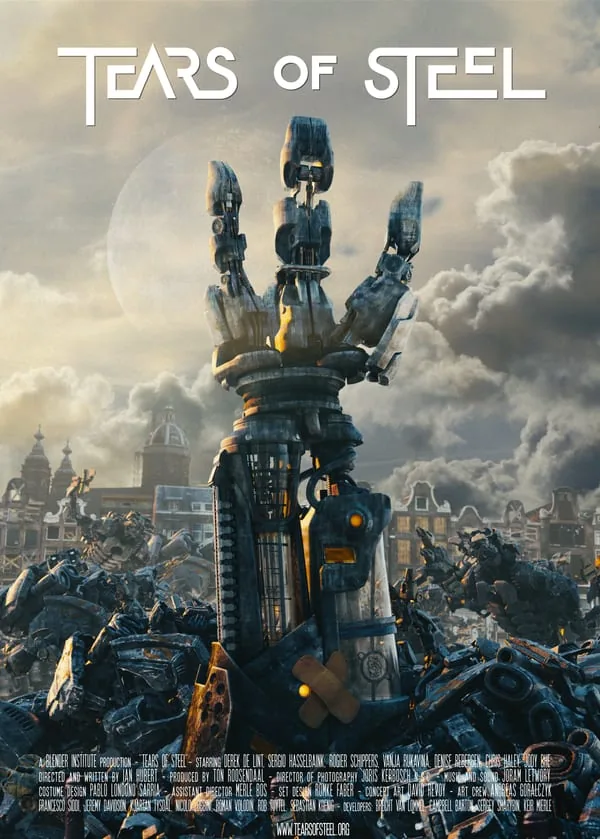
Or browse every film on IFN, free. When you’ve made a film of your own, submit it to IFN; submitting is free, and a person watches every film.
Sources: David Bordwell and Kristin Thompson, Film Art: An Introduction (McGraw-Hill), on shot scale, angle, and lenses; Steven D. Katz, Film Directing Shot by Shot (Michael Wiese Productions), on coverage and staging for the camera. Shot names follow common usage on film sets and in film schools; some crews use slightly different labels.